Homegroups are Microsoft’s way of making it easy for normal people, who just want their PCs to work, to share files over their home network. They were introduced with Windows 7 and every time you install Windows it nags you to set one up.
Ideally, it’s better to use a low-power network-storage device to share files. This stays on all the time, so you don’t have to go and boot two PCs in order to get to the files you want. But if that’s not an option, Homegroups are an easy-to-use alternative.
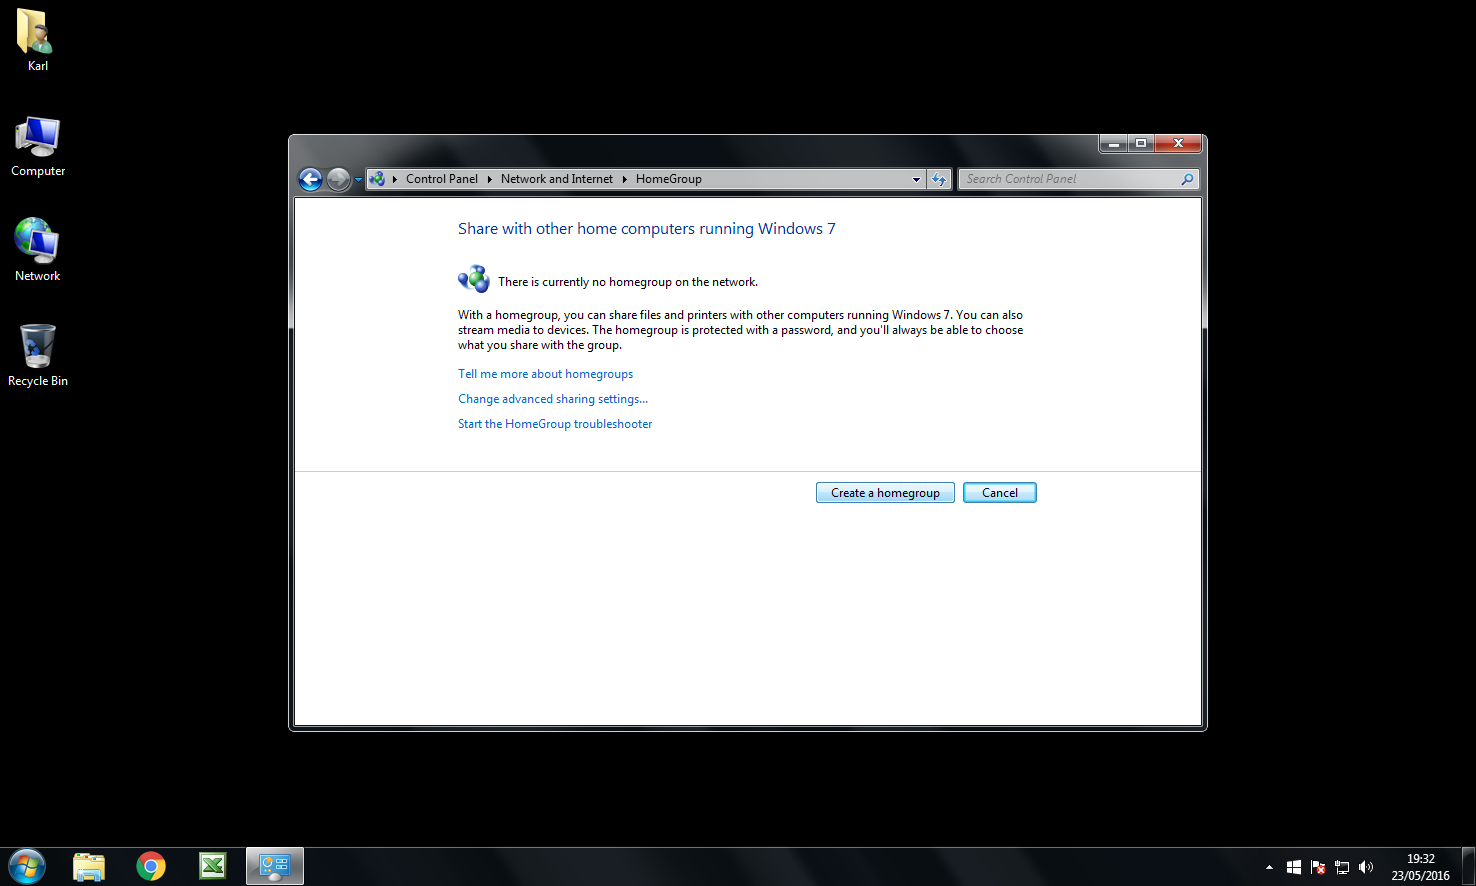
1. Open Control Panel
From the Start button, open the Windows Control Panel. Click on the button labelled Create a homegroup.
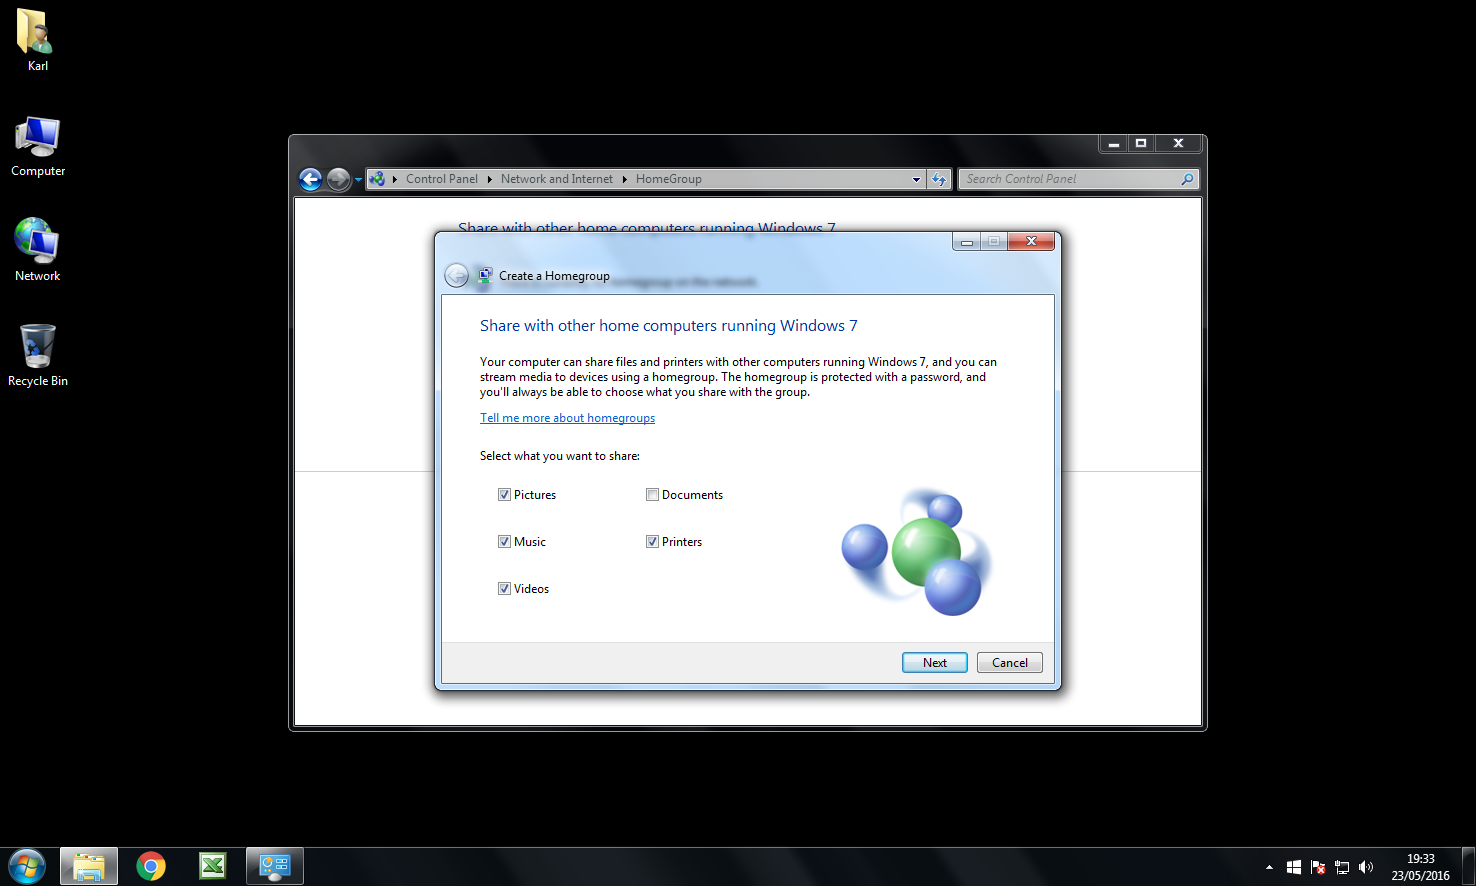
2. Tell Windows what you want to share
In the next screen, Windows asks you what you want to share. Ticking an item shares the corresponding folder in your home directory.
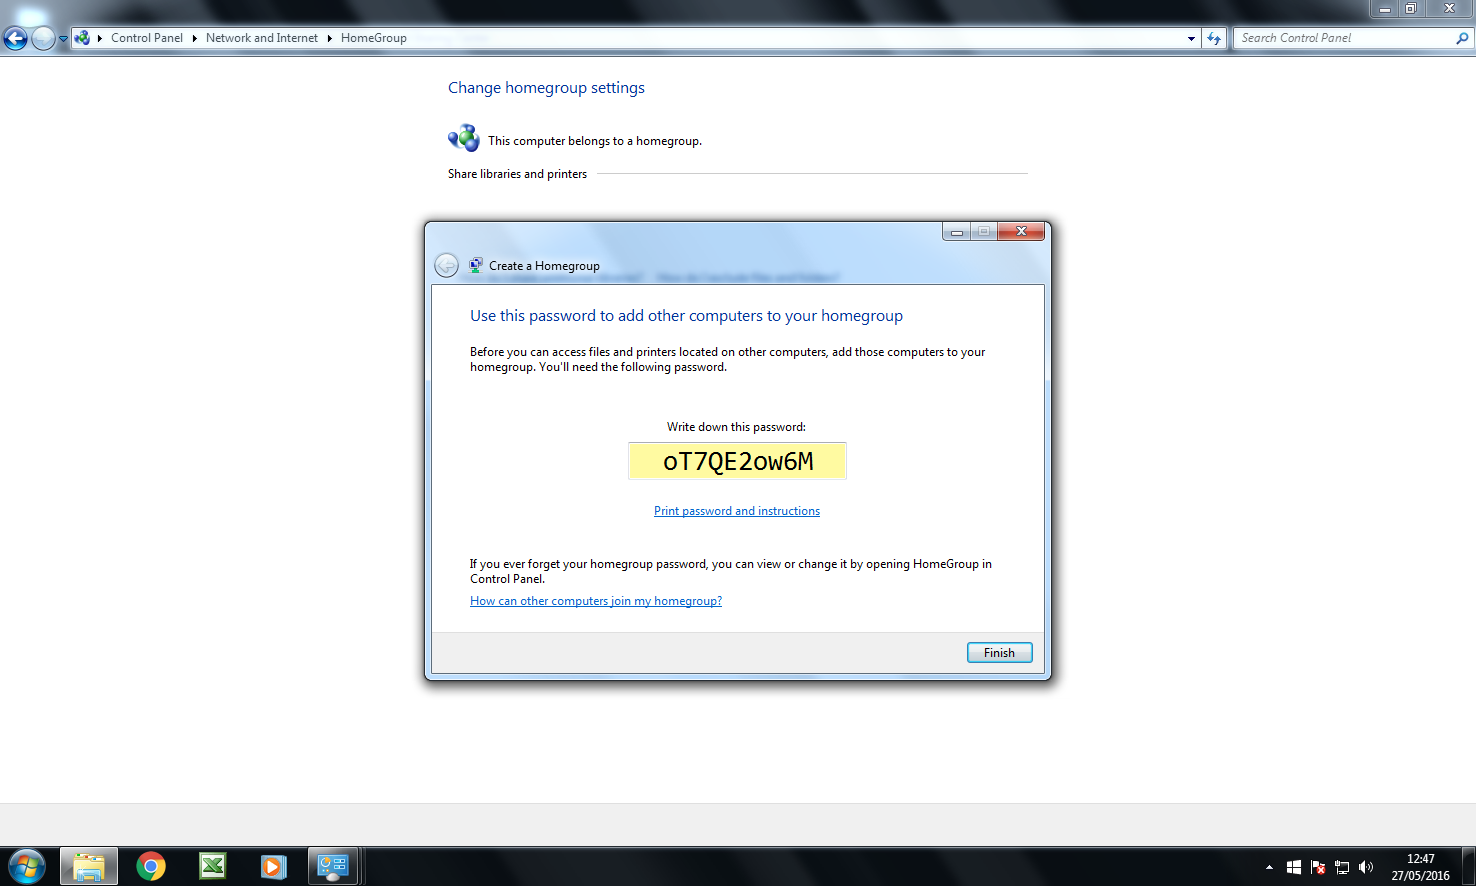
3. Take a note of your homegroup password
The homegroup wizard-routine will generate a password. Take a note of it; you’ll need it in order to add other computers to the homegroup.
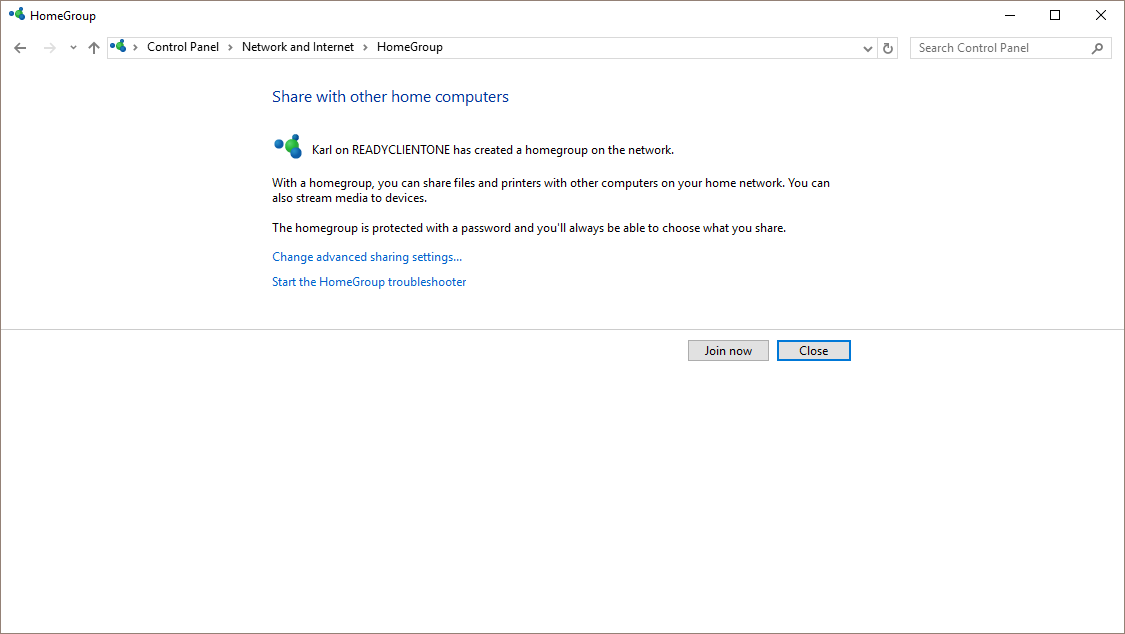
4. Add another computer to the homegroup
On another computer running Windows 7, Windows 8 or Windows 10, open the Control Panel, click on Network and Internet, then click on Homegroup. You’ll see a message telling you that someone on your network has created a homegroup. Click the button labelled Join now.
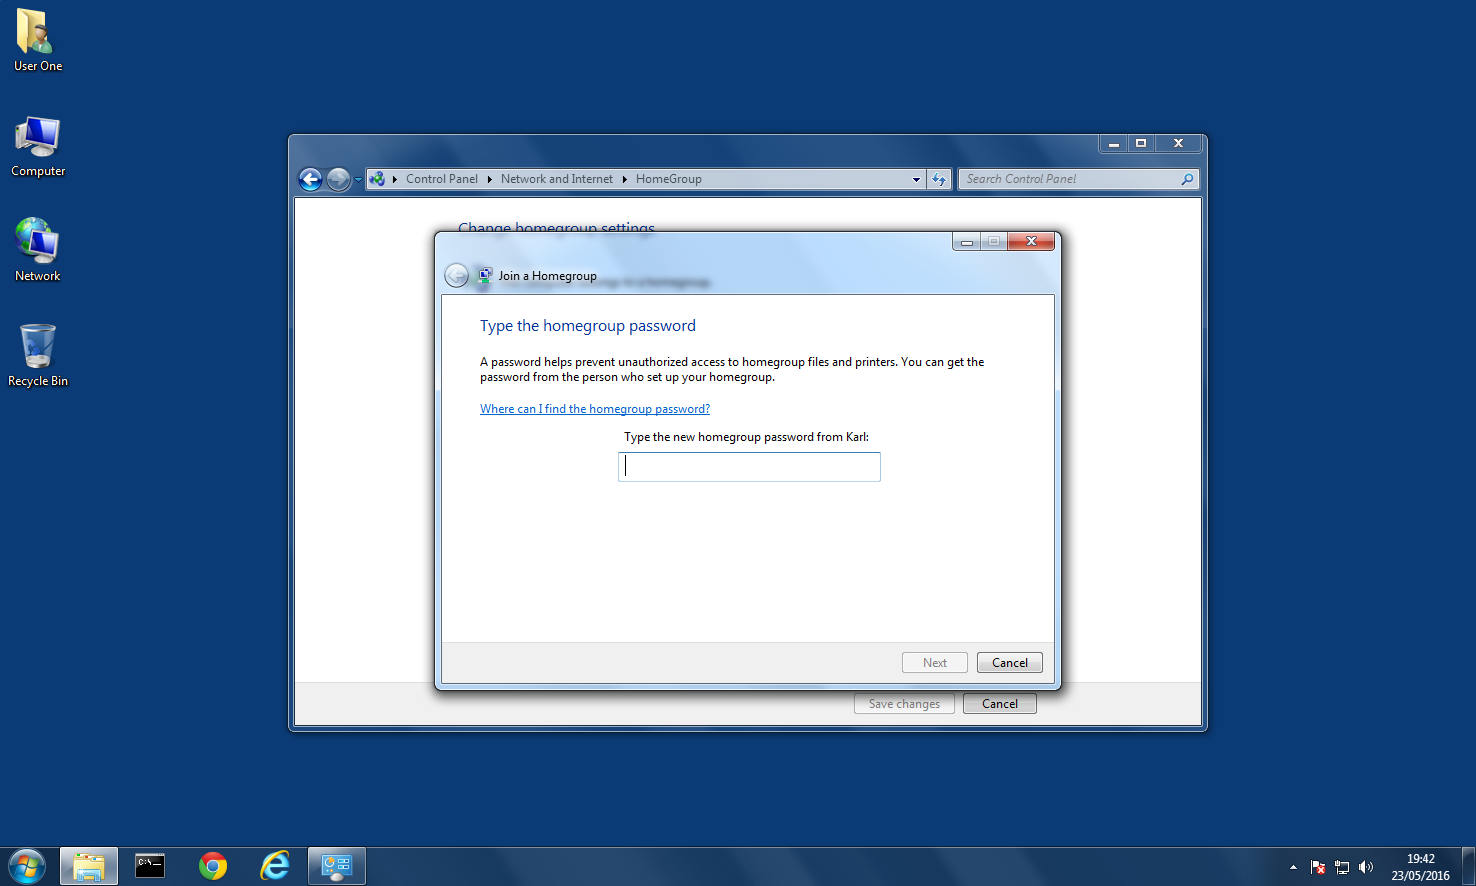
5. Enter your password
Follow the step-by-step wizard routine, choosing which folders you want to share. When prompted, enter the password for the homegroup you created in step 3.
And you’re done. You may have to wait a little while for Windows to finish sharing your files with other PCs on your network. But once it’s finished, you’re all ready to go.
Tip: if you created a homegroup when you first set your PC up but now want instead to join a homegroup someone else has created, then you need to open the Windows Control Panel and in the screen titled Homegroup, click Leave homegroup.
Leave a Reply